Wednesday, September 19, 2012

Go Formal!

Hello readers!!


Sometimes we are all dressed up for an important occasion be it our profession or any formal meet but our face attracts more attention. So, before you do the talking, make sure your make-up's right. 


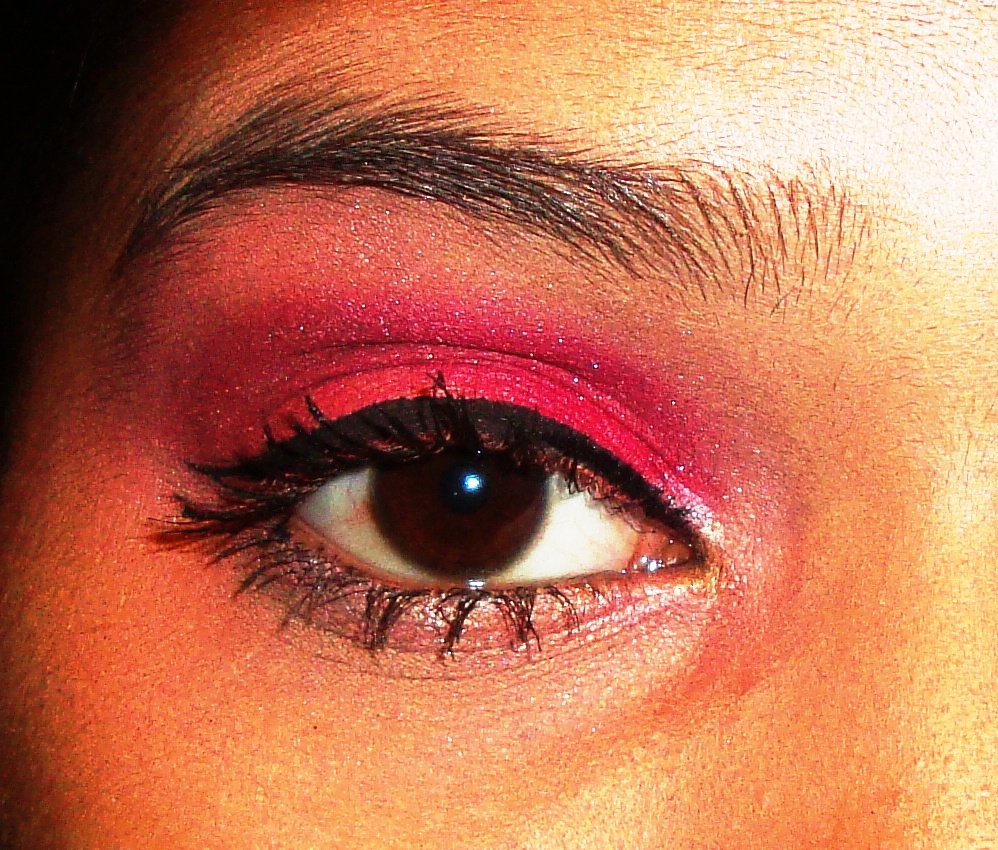
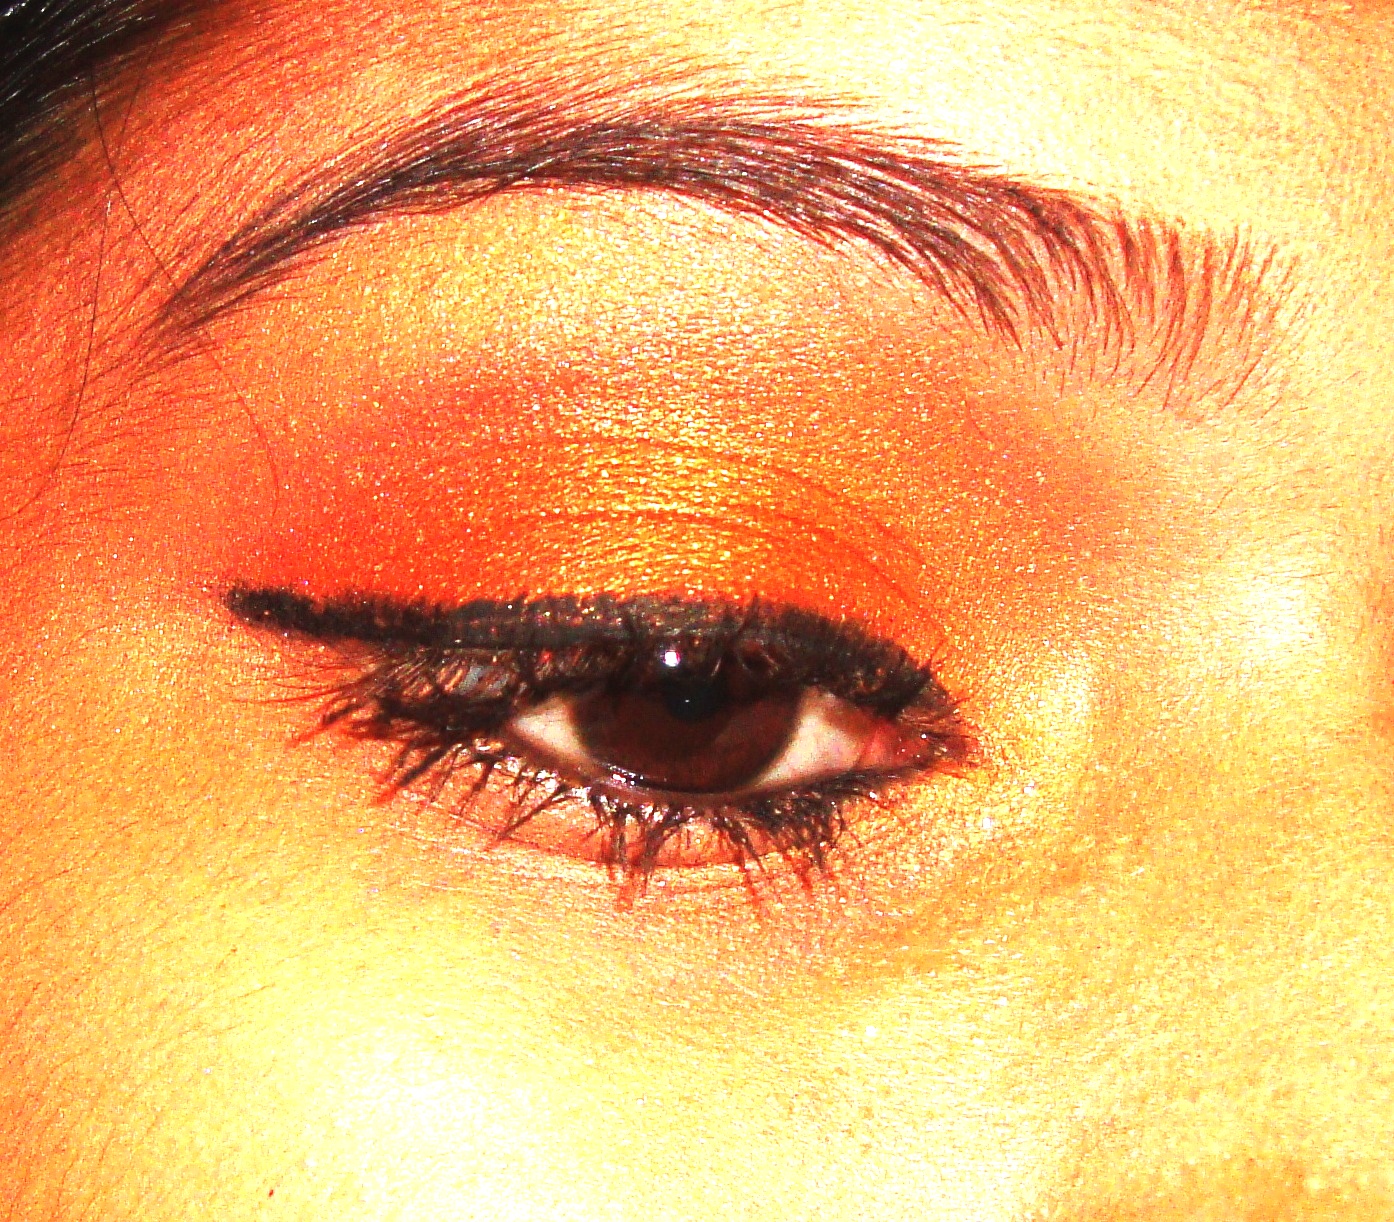
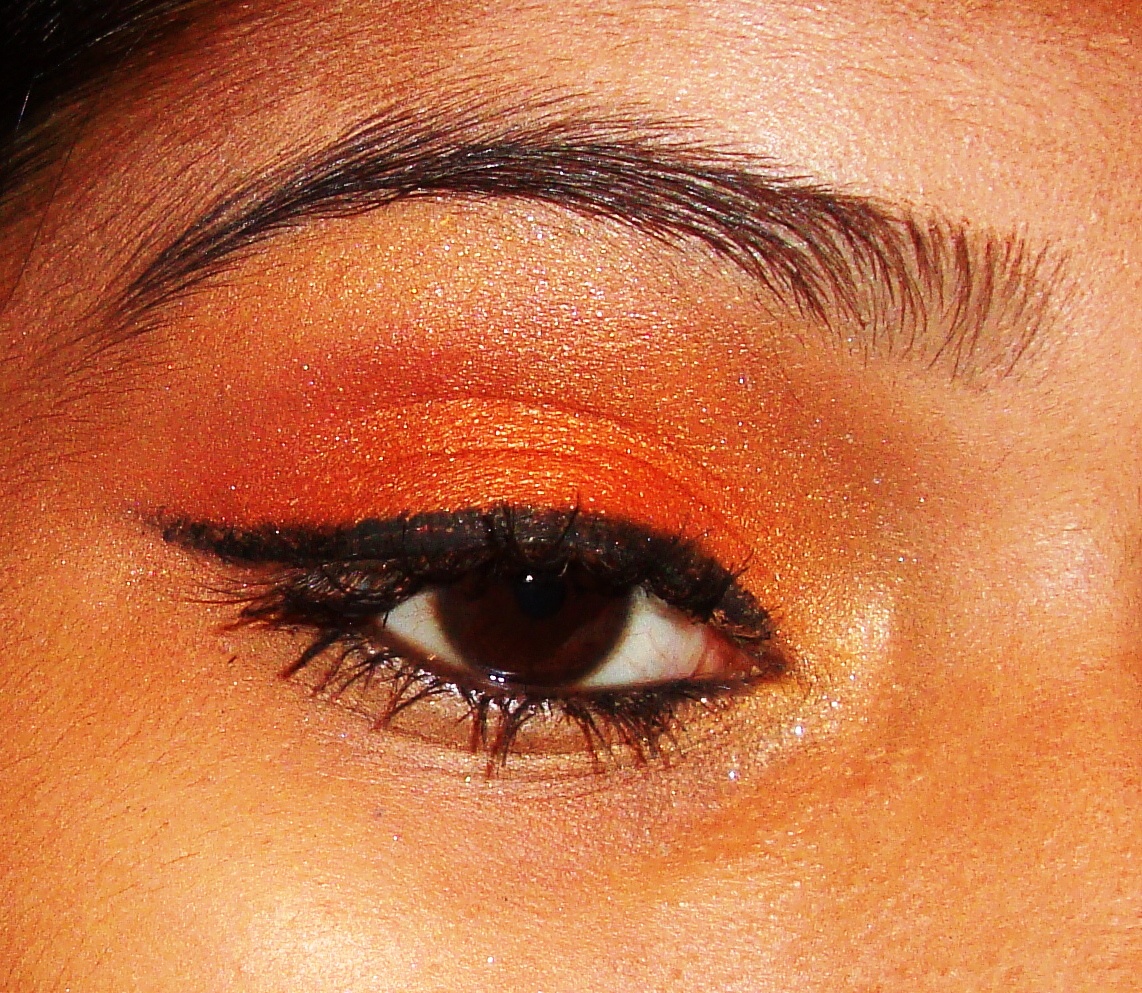
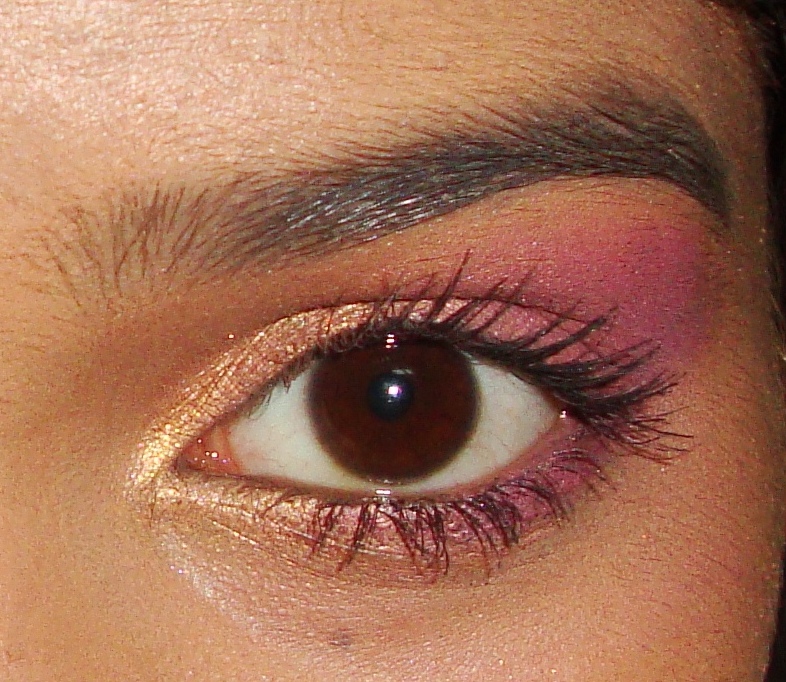
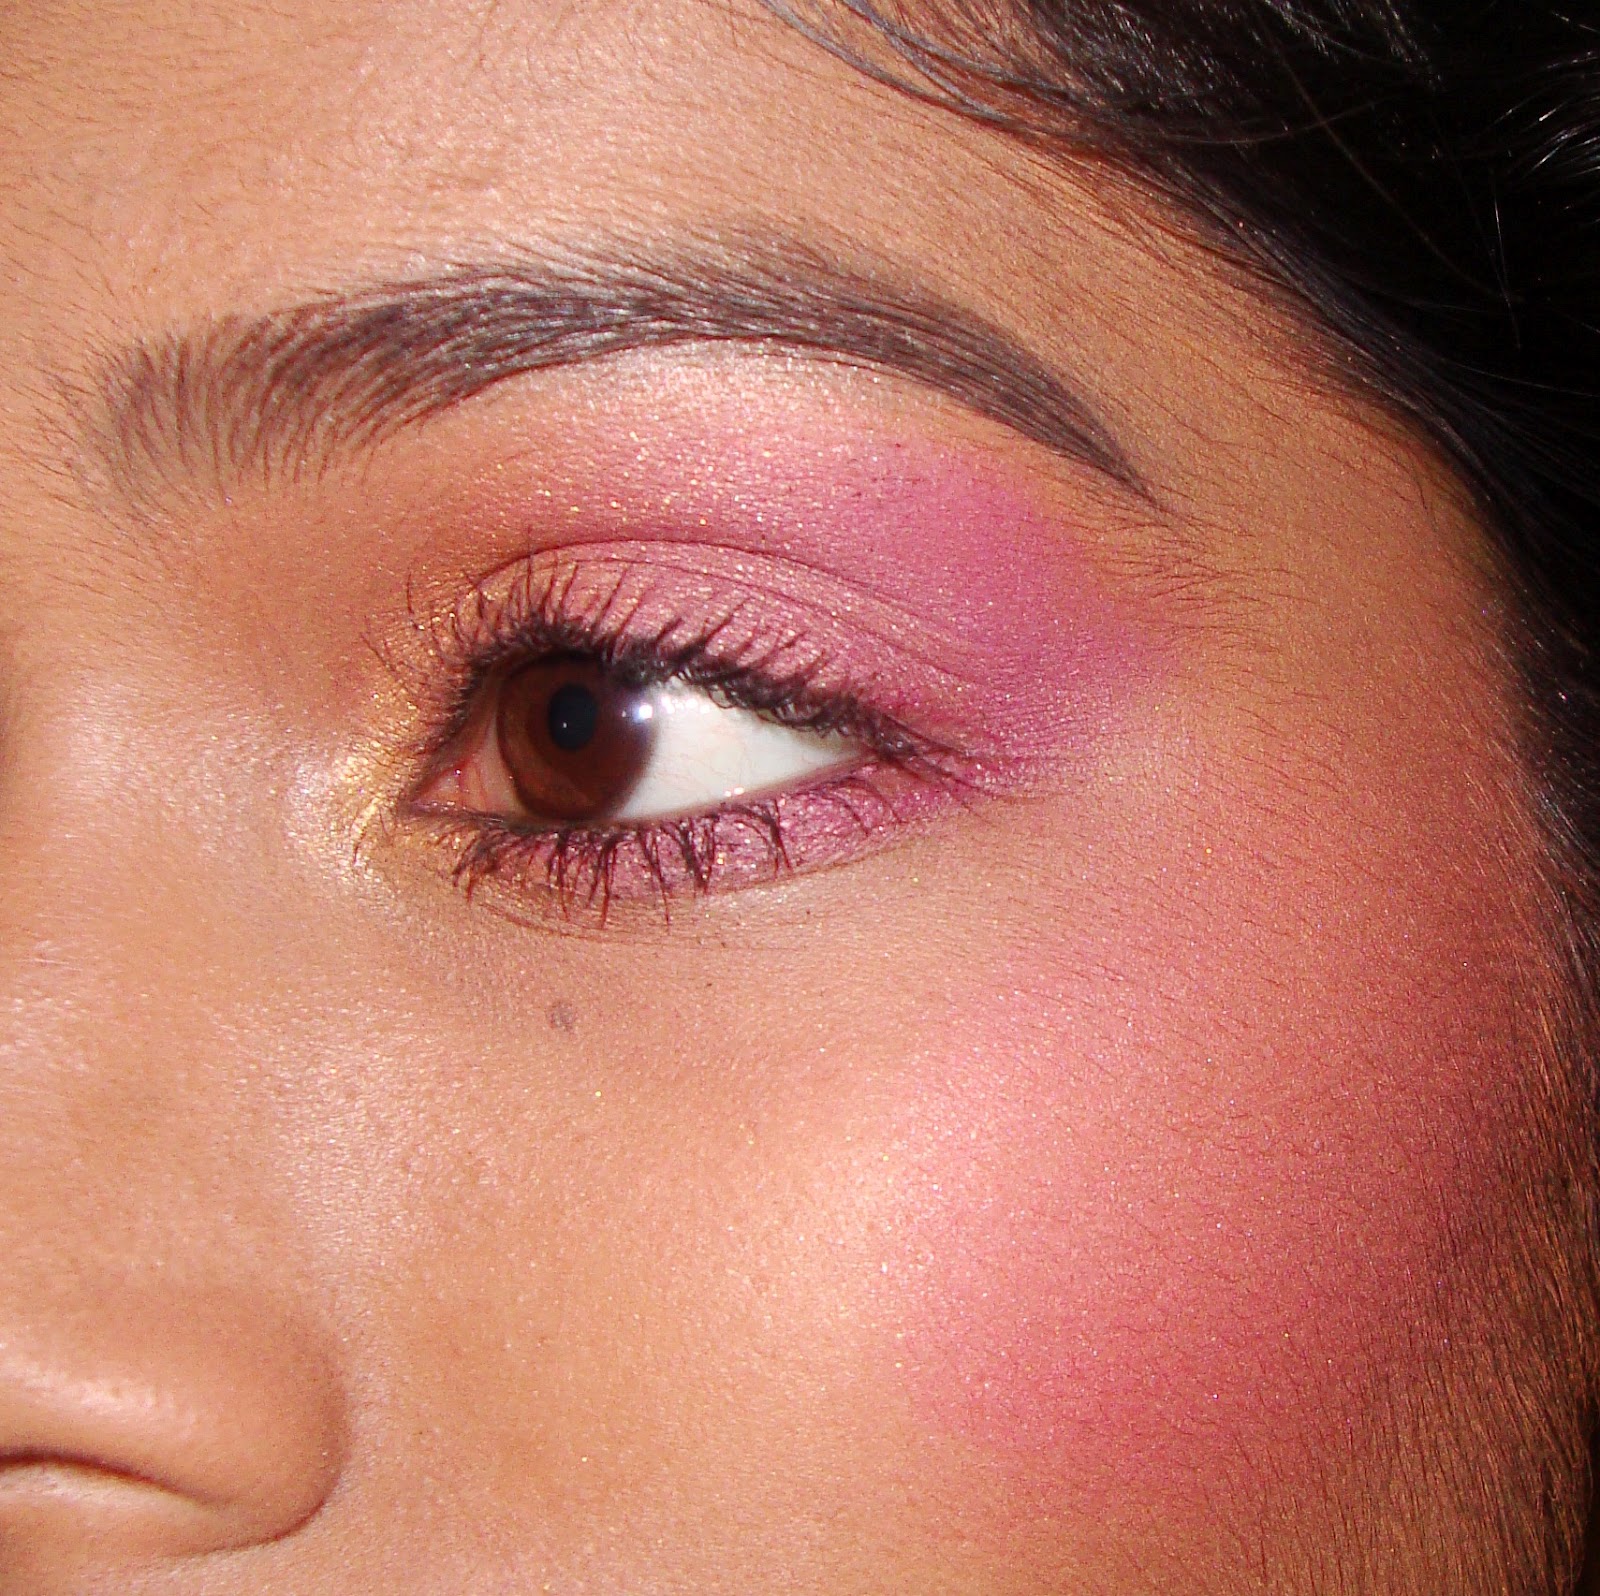
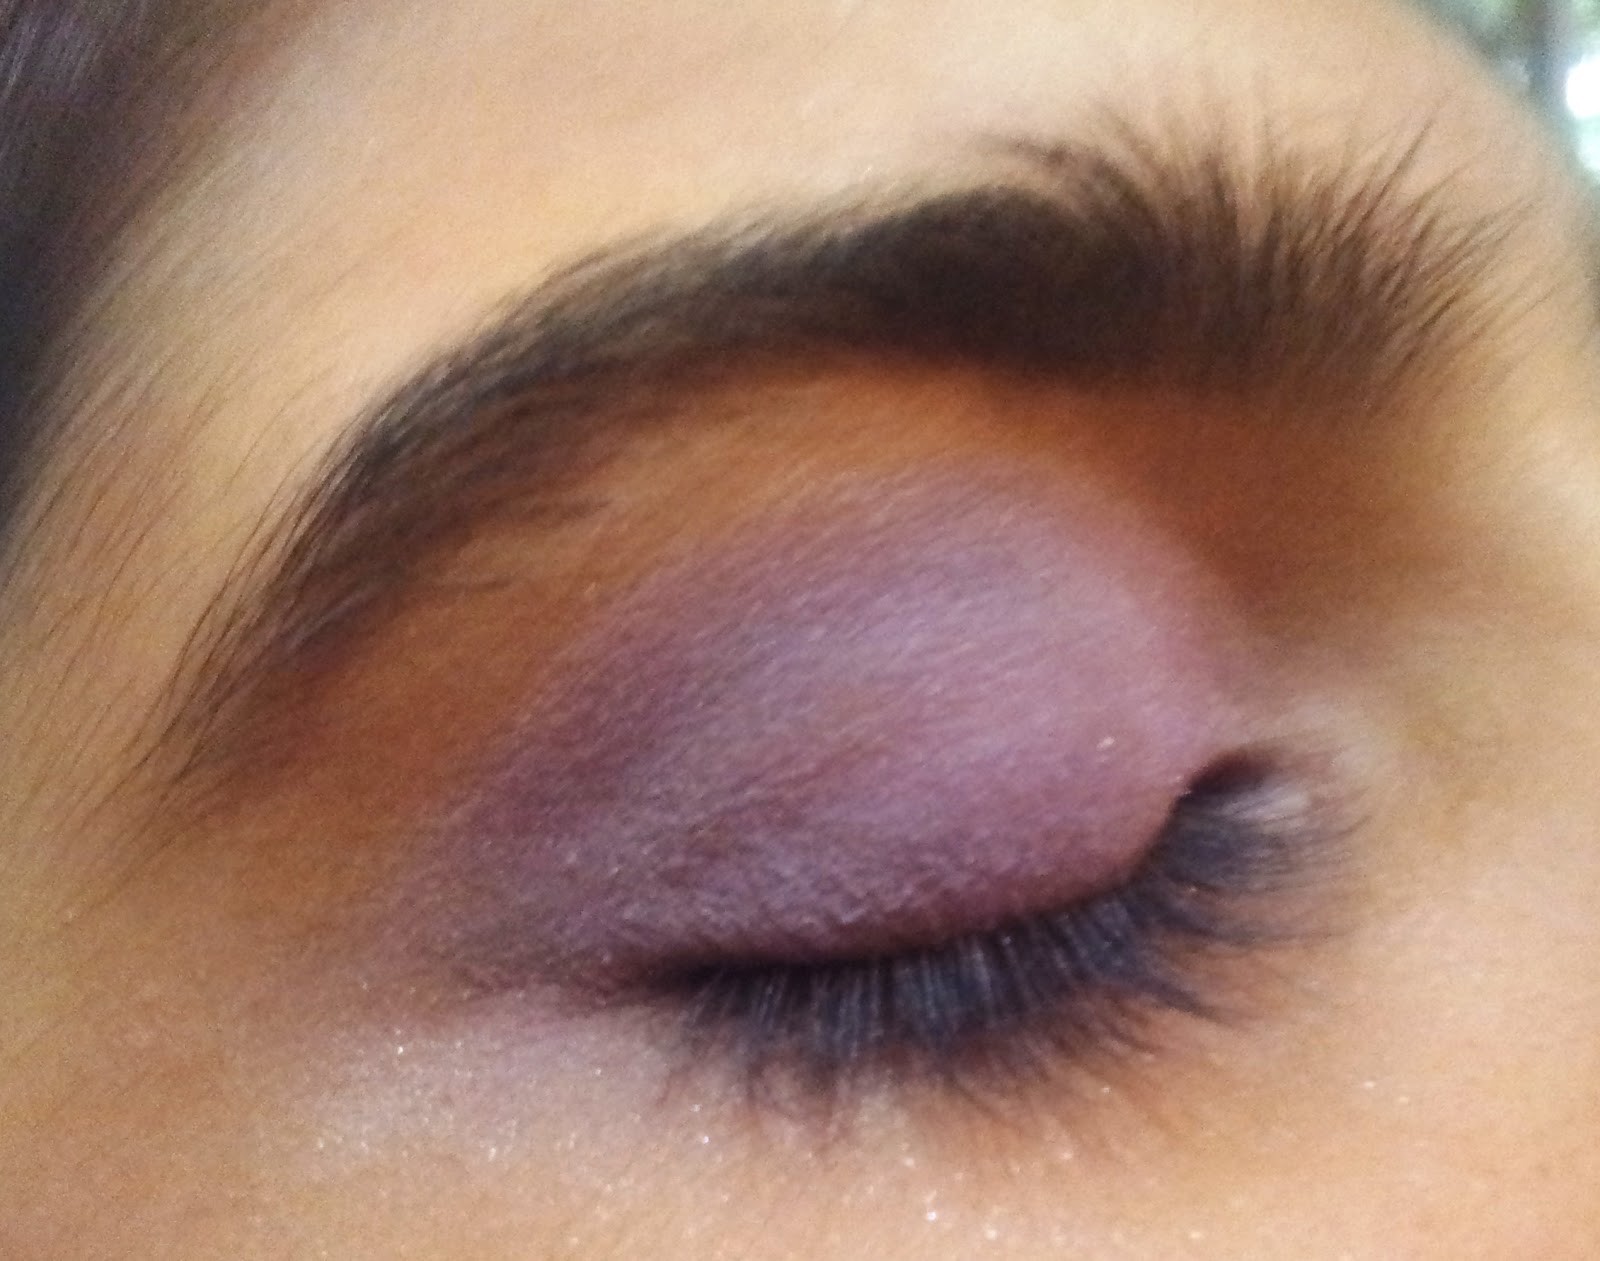
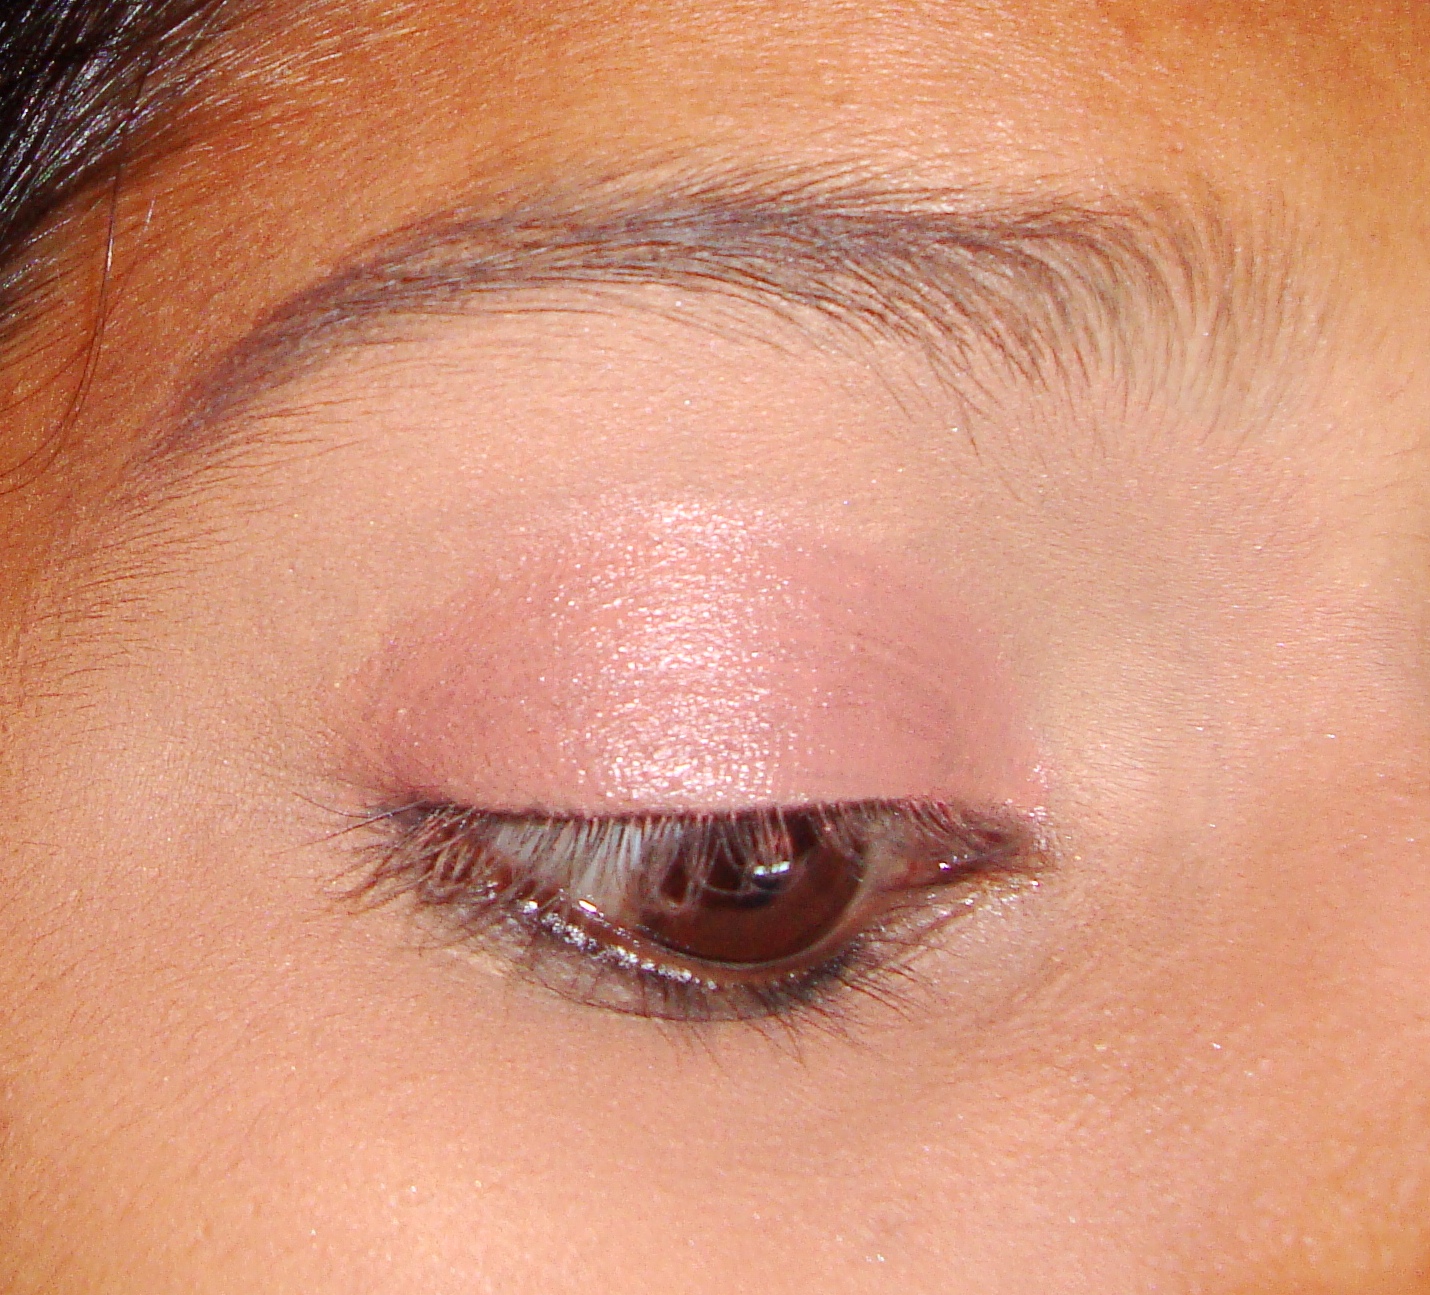
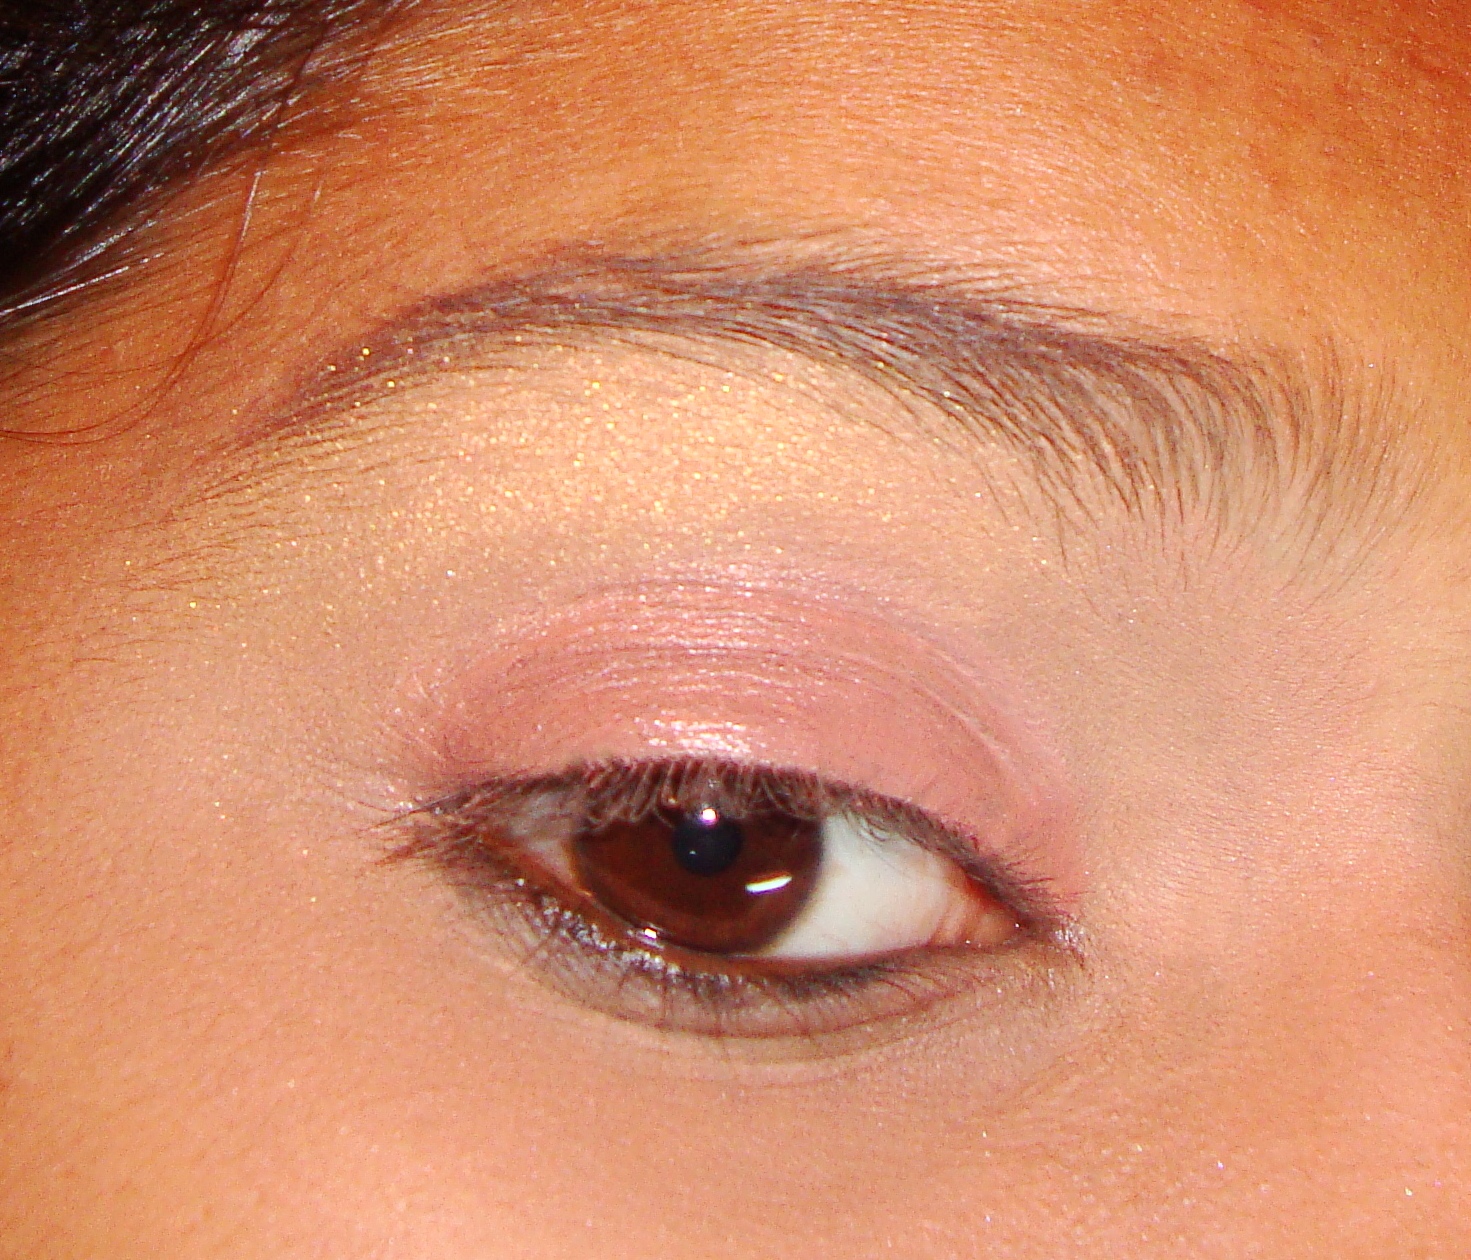
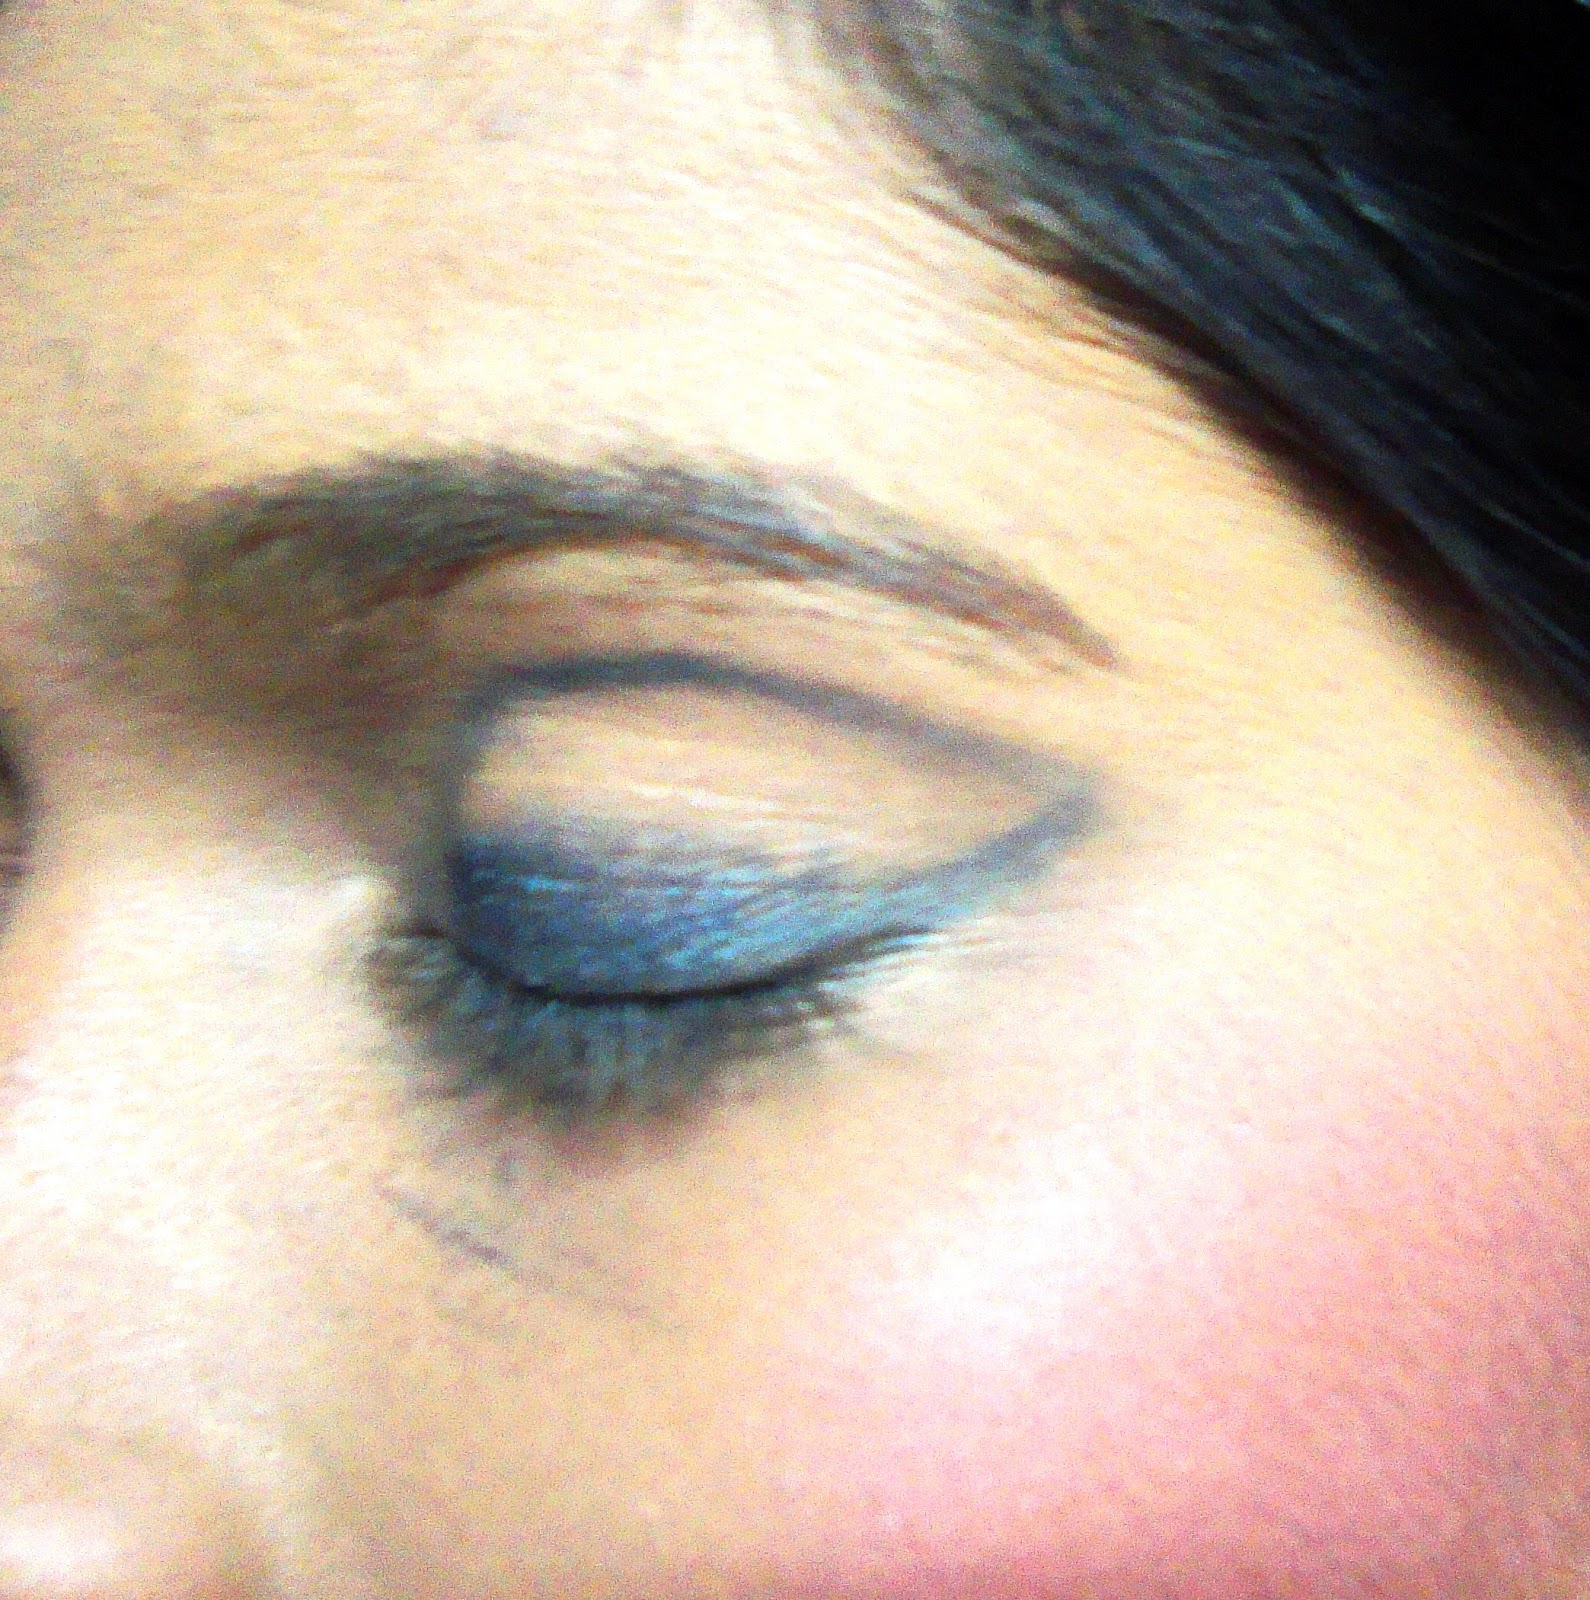
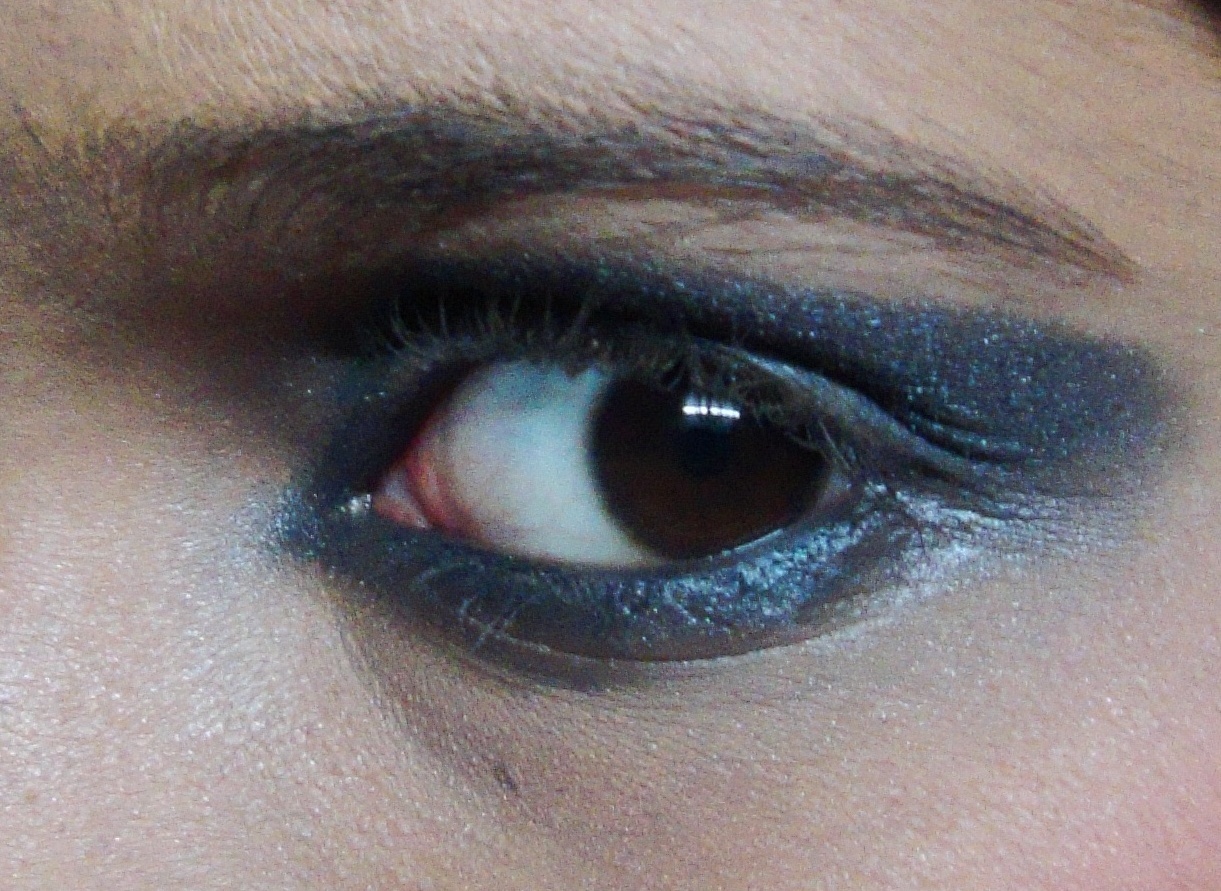
For your eyes- use beige, coral orange or a nude eye shadow. Mascara is a MUST. Kaajal or a liner to highlight your eyes better. You can add a little shimmer if you wish but not too much.
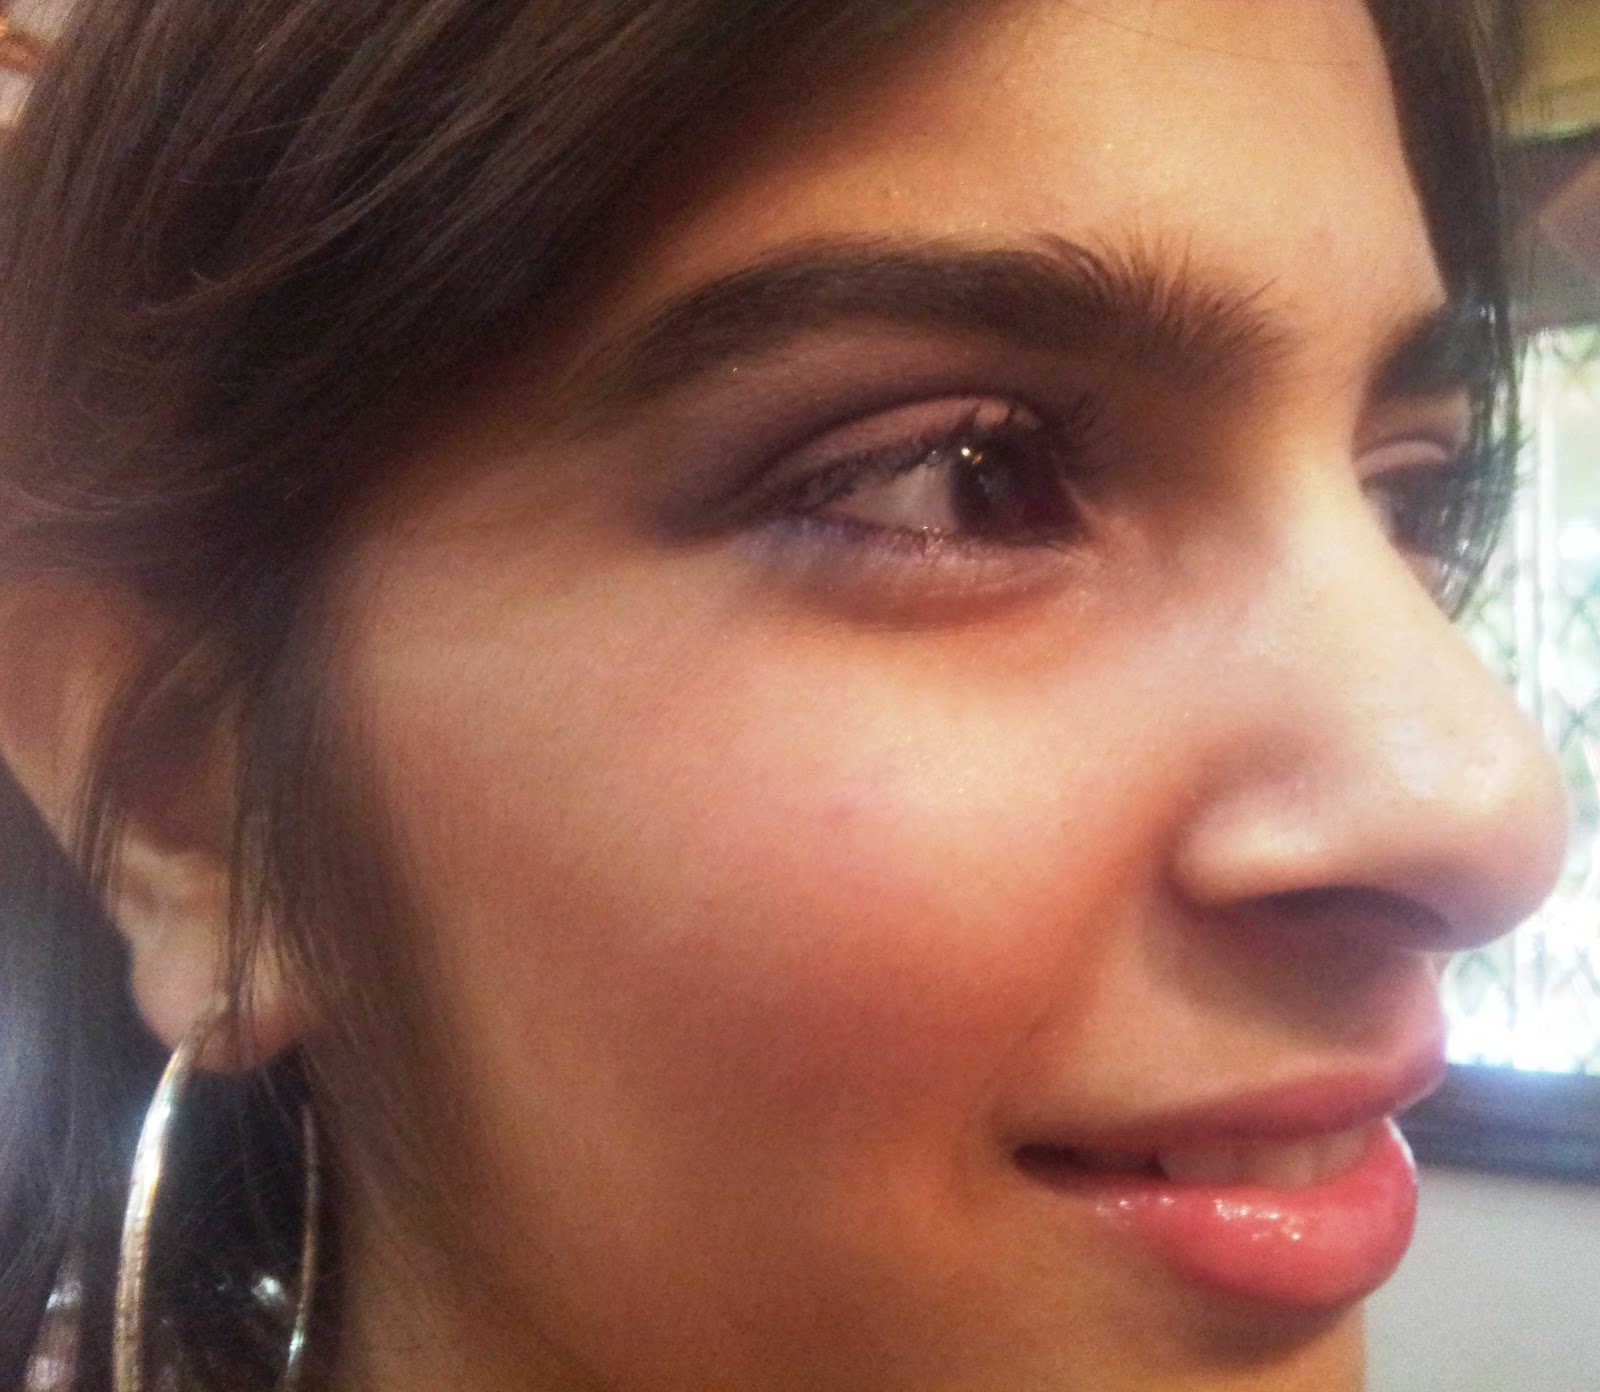
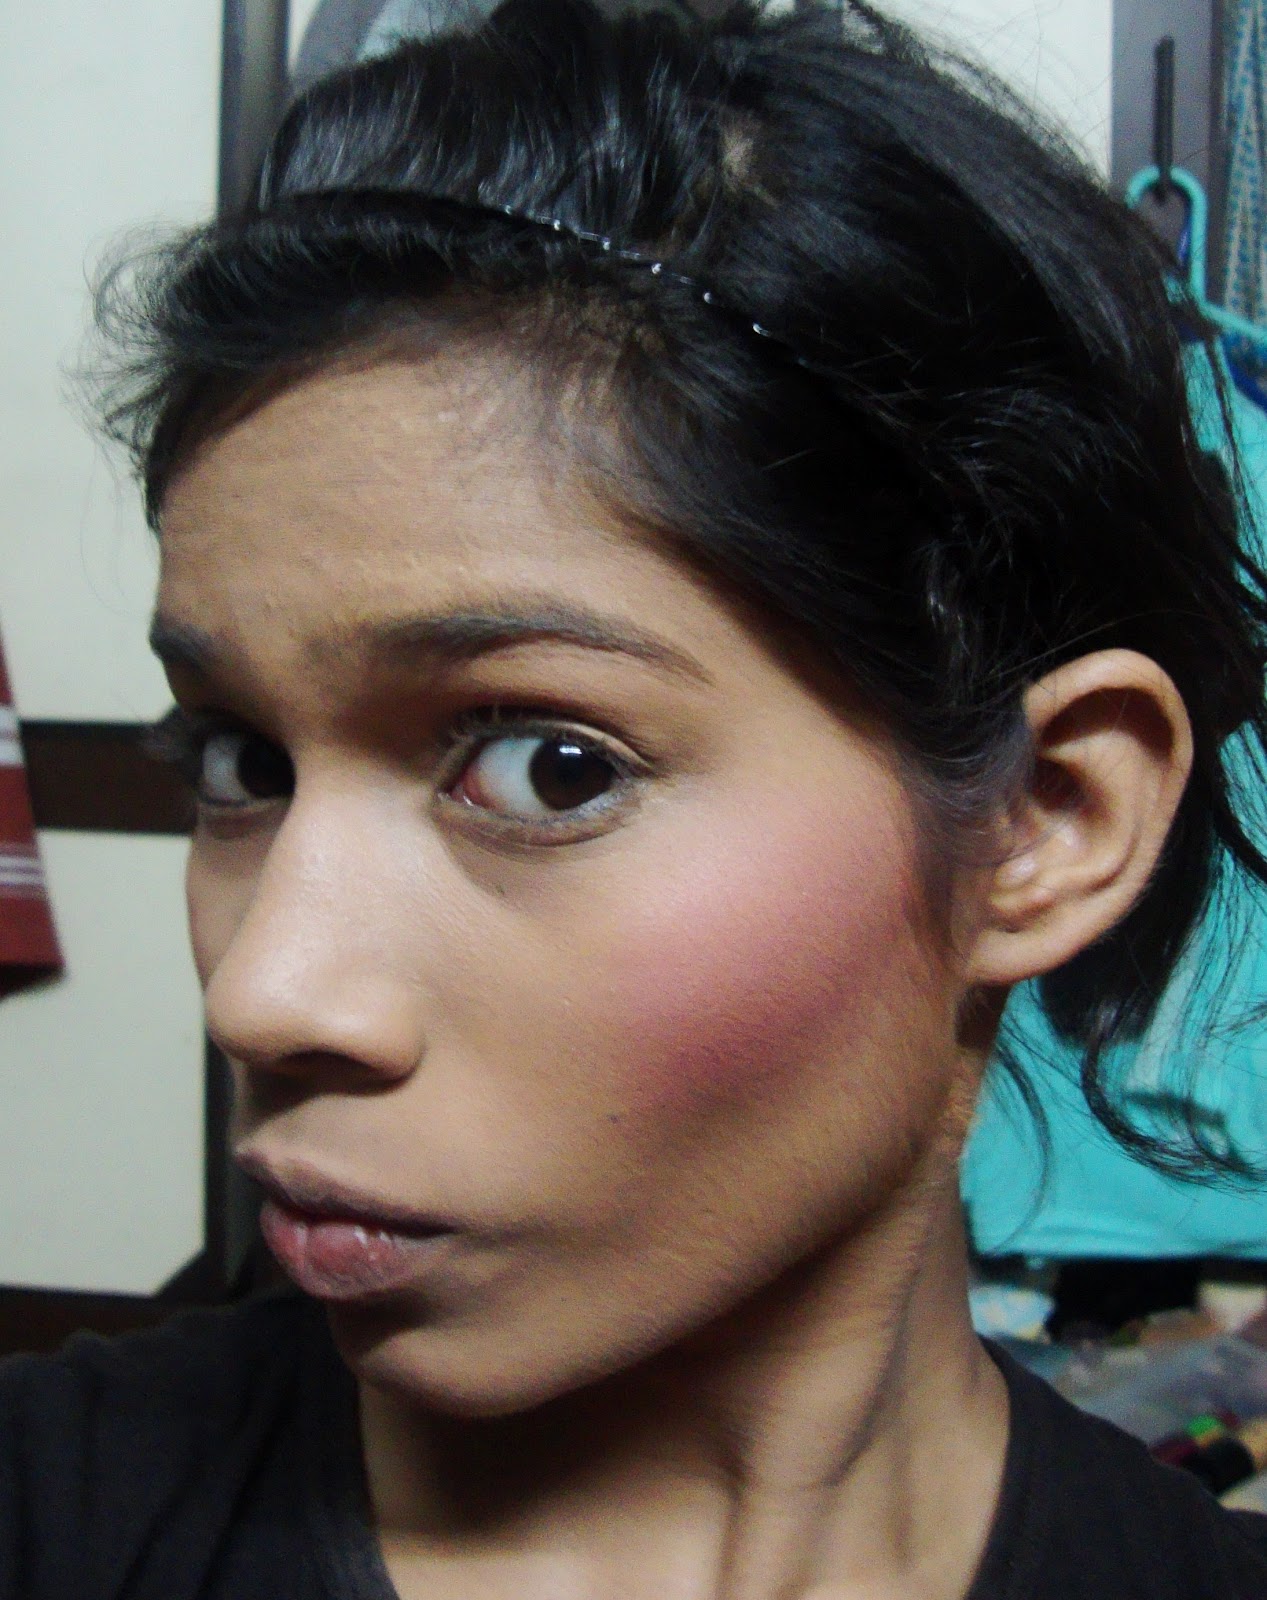
Give your cheeks a very little tint of blush. Use a fresh pink or brown shade for your lips. That brightens up your face and makes you look more lively. Red will just make you slutty. 
Remember, Less is More.

P.S. Beauty is within You! :)

Once in a Blue Moon...

Hello readers!!


After a really long time I present to you a new look! Its dark and crazy which will go on any evening attire, especially your LBD ;)


All you need is a super-duper blue eye shadow cornered by black eye shadow and black and silver eye liner on your lower lids. Add mascara to pump your eyes. Finish the look by adding a tint of blush on cheeks and keep your lips transparent glossy or glam it with red matte lipstick!


P.S. Beauty is within YOU! :)

Saturday, July 21, 2012

Braided all the way...!!

Hello readers!!


Braiding your hair has become an instant style statement this season, don't you agree?? And there are so many different ways to tie a plait! You don't even need to go to a stylist or someone else to braid your hair when you can do it all on your own...!! ;) Hence, I have posted below videos of various types of braids to help you look stylish like never before! 


1. The Classic French Braid


2. Fishtail Braid


3. French Fishtail Braid


4. Waterfall Braid


5.  Reverse Braid


6. Dutch Braid


7. Katniss Braid


I hope you like'em! Do try 'em, they are simple and gorgeous!! :)


P.S. Beauty is within YOU! :)

Sunday, July 15, 2012

Monsoon Drama...!!


Hello readers!!


Monsoon is here!!  Why should anyone stop looking gorgeous just because the weather looks dull? Make the most of it by wearing beautiful bright colors and be the sunshine  in the rains..! :)


This is the perfect Indian Monsoon look…just like a peacock!
I have applied the indian blue and green eyeshadow with a dash of gold to add spark to my eyes. I have highlighted my lower lid with green under kaajal. Also I have used bold liner for a dramatic effect! ;)


A simple look to brighten your look at any time of the day. Mixture of purple and copper looks best while walking in the rain. Copper liner on your lower lid makes the eye look bright and bold.

Tip: For long lasting make-up during monsoon, use cream based cosmetic products. :)

P.S. Beauty is within YOU! :)


Sunday, July 1, 2012

VOGUE to the rescue!! Eyes & Lips

Hello readers!!


In this last part of Vogue tip series I'm going to share with you some awesome secrets! :) 
Happy reading!


Eyes


  • To prevent clumpy lashes, wipe your mascara brush with a tissue before you use it. You may think you're wasting it but at least you'll look gorgeous.
  • A great way to give a fuller look to sparse lashes: eyeliner may be back on the inner lower lid but its also very effective on the inner upper one. Apply pencil from below the lashes and work lightly along the roots so that it gives a natural shadow.
  • If you've got pale lashes and can't reach the lash base with your mascara wand, use liquid liner to dab at and cover them.
  • Buy a mascara, get a brush free. When you finish a tube of mascara, don't just throw the brush away, recycle it. Once it has been washed, the wand makes a perfect eyelash brush: use it to weed out clumpy mascara. It also makes a useful tamer for unruly eyebrows.
  • For super sharp eyebrows, snip off the straggly tops of your eyebrows. You have to go very carefully, one hair at a time and just trim off the tip of the brow hair right where it reaches the outer line of your brow.
  • To help low eyebrows appear higher, brush eyebrows downwards so you can see exactly where the uppermost hairs emerge from the skin. With a pencil or eyeshadow and brush, trace along the upper limit, emphasizing the highest part of your brow line, and then when you brush the hair up you'll neatly hide the pencilled line.
  • If you're not an expert with eyebrow pencil, draw brow colour on your hand rather than straight on to your brow, then rub an eyebrow brush over the pencil mark. The brush will pick up a tiny amount of the colour which you then brush through your brow.
  • For the just woken up puffy eyes, wrap an ice cube in a flannel, run it under the tap quickly and dab it on to each eye alternately. The puffiness will go down in minutes.
  • For longer-lasting crease proof eyeshadow, put powder eyeshadow on with a damp brush. The eyeshadow will dry into the skin as you blend it and because it clings to the wet brush you'll avoid the problem of dry eyeshadow crumbling on to your cheek below.
  • To create the illusion of deeper set eyes, keep your eyes open and brush on a deep taupe shadow just above your natural crease. Blend well. And as the shadow isn't actually in the crease it can't, well, crease.
  • To brighten and widen narrow-set eyes: a well blended smudge of ivory cream colour in the inner inner corner of your eye will brighten an area which often looks bluish, makes whites of eyes whiter and create the illusion of width.
  • To help small eyes appear larger, use white pencil on the lower inner lid- this will give the impression of larger whites of the eye, and help make your eyes look brighter.

Lips

  • Lipstick primer extraordinaire. Foundation as a base for lipstick will help it last longer and keep colours truer, but concealer goes one better. It's more matt and thick enough to fill in lip creases for a fuller look.  
  • Make any lipstick matt. After applying lipstick, peel a tissue down to it's thinnest layer. Hold it over the lips and then ''blot'' face powder all over it with the aid of a puff. This will diffuse the powder evenly, creating a perfect matt finish, and make your lipstick last much longer.
  • For a really natural lip colour which won't slide off, rub on a little rosy blusher, or some pinky eyeshadow, then seal in with lip balm.
  • Forget the back of your hand for lipstick testing. Use your index finger. Different skin types alter the shade but the way it looks on your index finger will be closest to what it will look like on your lips.
  • Put make-up in the most hardest and unflattering light you can find. If you look good there, you'll look great anywhere.
  • An easier way to blot your lipstick: fold a tissue, insert it into the corners of your mouth and then press your lips together rather than trying to blot the entire mouth at once.
  • To ensure you don't flash your best smile only to reveal lipstick on your teeth, once lipstick is in place stick your index finger in your mouth, close your lips around it and pull finger out. The lipstick which was on the inside of your lips will now be on your finger.
  • When you need your lipstick to last... apply it as normal and rub it in, then blot, blot and blot again until only the colour, and none of the moisture is left. Repeat, then go over with a lip pencil and blend it all in. The liner will have''sealed'' the lipstick colour.
  • If your only option for a full looking mouth is to cheat, don't do it with lipstick. A creamy lipstick has a sheen which will only highlight your lip line. Use a matt liner instead which will dull and hide it. Simply push the pencil to the outer limits of your lip. Colour in a with a slicker colour,a dot of gloss or leave the centre of your lower lips a shade lighter. You'll get a realistic looking fuller mouth.
P.S. Beauty is within YOU! :)

Saturday, June 9, 2012

VOGUE to the rescue!! Hair tips :)

Hello readers!!


So, I am here to share the wonderful hair tips I found out in VOGUE UK with you. I hope you follow them 'coz it really works!


  • After washing your hair, rinse it with water as cold as you can bear. This will make the cuticle sit flat and your hair shine brilliantly.
  • Too much scrubbing hair dry with a towel will raise the cuticles and rob hair of shine. Squeeze the water out of the hair in a downwards motion and then wrap it up.
  • While blow drying, hold your hair dryer in the same position that your hairdresser does, i.e. above and behind your head. This way you're blowing the hot air flat down over the hair cuticle rather than up into it. The end result is sleek glossy hair and not dry, fluffy stuff.
  • For a professional, sleek look when blow-drying, move the nozzle of the hair dryer and hairbrush together with only the most minute of gaps between the two. The heat will smooth the cuticles down and not fluff them up.
  • When you need your conditioner to work overtime for your hair, massage in treatment conditioner instead of just dolloping it on. You'll help force the treatment ingredients in through the hair rather than simply dragging it over it.
  • Make gravity work for you: turn head upside down when brushing it. Gravity will bring blood to hair follicles and allow dust particles to fall from the hair. You'll also be brushing the most protected hair as opposed to the more ravaged, fragile outer stuff. 
  • Fighting fluff: If your curly hair tends to fluff up, mix some gel with silicone serum; the serum keeps the gel from stiffening and dulling the hair.
  • If your hair looks too ''done'' after leaving the hairdresser, go home and have a bath or hold your head over a steaming basin and the steam will help it settle into a more natural-looking style.
  • Remember that hair is perverse. Use reverse psychology. Blow dry in the opposite direction first: forwards and down if you want backwards lift, under if you want flicks up.
  • The last word. Just before the final finish, muss hair completely. You'll see where you've gone wrong or what will happen when you step outside into the breeze/mist, and when you put it back in place the effect will look more natural and less forced. 
Hope you guys really try this. It truly works!! ^_^


P.S. Beauty is within YOU! :) 

Saturday, May 26, 2012

VOGUE to the rescue!!

Hello readers!!


I happened to discover a 10 year old issue of VOGUE UK magazine in my house (strange!). I found an amazing article on beauty tips from the top professionals in the business and I can't wait to share it with ya!!


  • When trying a new foundation, always wait 15 minutes before making a final decision. The oil on your skin and the air will conspire to darken the shade you tried.
  • For a really flawless evening make-up finish, apply two layers of foundation: first a really light layer, which you allow to dry, then a second. You won't need to touch it up, no matter how late you stay out.
  • Give your skin a poreless finish by stroking foundation, powder and blusher downwards- otherwise you will be pushing pigment up and into your pores and so highlighting them.
  • To prevent the concealer highlighting the problem you're trying to hide, apply a light moisturizer beforehand. Allow to soak in and then dab away any excess with a tissue. This will produce a softer, more even, long lasting finish and help to prevent ''caking''.
  • Don't restrict concealer to under the eye. It may hide dark circles efficiently, but concealer is also a great primer for eyeshadow, helping to prevent creasing and keeping the color truer.
  • To conceal bags under the eyes, put concealer on the shadow beneath the bag, not on it- or else you'll only be highlighting, rather than hiding the bag.
  • Apply make-up in the hardest and most unflattering light you can find. If you look good there, you'll look great anywhere.
  • Liquid foundation is fantastically versatile. Do as make up artists do and make it work harder for you by regulating its color and texture with the addition of loose powder. Shake loose powder into it to create a slightly more covering, longer lasting evening foundation. With a change of season you can add lighter or darker powder to warm it up or cool it down.
  • If your summer blusher is suddenly too much for your paler winter face, dilute it by dipping your loaded blusher brush into translucent powder.
  • Smile as you put on your blusher to get the most natural look. Brush the colour on to the ''apple'' of your chhek-that's where you flush naturally- using your smile lines as inner distance marks. To find your most flattering shade of blusher, pinch your cheek or work at the gym, study the shade and then try to match it.
More tips on hair, eyes and lips by VOGUE UK coming soon!!

P.S. Beauty is within YOU! :)

Monday, May 7, 2012

Go vibrant!! ;)

Hello readers!!


This summer being colourful is in! So is being vibrant! I have used the shades of pink, red and green this time. More colors to follow soon...


Pink 


 I ''frosted'' my pink shade by adding silver at the end and white below the eyebrow. Also, I darkened the crease with a tint of purple. 


Red 


Its a bright funky red and not the actual ''hot red''. The color is just vibrant that it instantly became my cool color of the season!!


Green


I mixed shades of green and added a dash of mud brown at the crease to darken the effect. Its a very Indian-ish look and a perfect summer color!


I hope you girls like it!! Leave in any suggestion or comment if you please.


P.S. Beauty is within YOU!! :)

Monday, April 30, 2012

Summer is here!!!! :D

Hello readers!!


Summer comes with colors...and what fun it is to get out and look brighter than the sun?!! Look funky, floral and fun with make-up!! Here are a few looks you can try for brunch and day-outs!! Tchin-tchin! ;) 


The following are just a play with orange. Orange goes extremely gorgeous with Indian skin tone. 

I have just applied plain orange shade on my eyes and highlighted it with eye pencil.


I added brown at the end and at the upper crease with slight golden shimmer at the tip and below the eyebrow. And a slight gold shimmer below the kaajal highlights your Kaajal even more.


This is a bit of a twist I tried. Added a hint of green at the crease. Also used a Green pencil as Kaajal under the eye. A little of gold at the tip completes the look!


More ''Summer looks'' coming soon!! ;)


P.S. Beauty is within YOU!! :)

Monday, April 16, 2012

Blush Blush...!!

Hello readers!!


A blush is the perfect way to enhance the features of your face. If you apply it the appropriate way and in right amount it will perfectly highlight your eyes and good bone structure. The colour of the blusher is chosen according to the skin complexion. It can be matched to the dress too.


Colors 
For fair skin: 
Coral/ Pink/ Orange


For wheatish skin:
Pink/ Light brown


For dark skin:
Red


How to apply
It is very important to apply blush the right way. Apply lots of blusher only when you are intended to do heavy make-up. Keep the color only till visible. Extra application will make your make-up look shabby.


- Blush should be applied only on cheek bones for normal wear.
- Start from the cheekbone below your eyes and extend the color upward with a brush till the end.  Make circular strokes in an upward direction to evenly spread the blusher. 
-If you are unable to identify your cheekbone, don't worry. Just smile harder. Your raised cheeks show you the point of application.
- Do not spread the color anywhere else. 


Tip:
You can give an effect of raised cheekbones by using a bronzer or a dark tone of blusher below your cheekbones. Merge the two colors with a brush with the same method. It also gives a shadow effect.


P.S. Beauty is within YOU!! :)

Tuesday, April 3, 2012

Just two colors!

Hello readers!


Get this look!!
With the help of gold and purple you can get a bling look too!! Instead of purple, you can use any other color of your choice. 


Apply the two colors and merge them in the middle. Do the same below your lower eyelid. 


Now apply mascara to highlight your eyes. Finish the look with tint of bulsh and a natural lipcolor.


Et voila!! 


P.S. Beauty is within YOU!! :)

Something simple...

Hello readers!


This is a simple make-up which can go on almost any attire.


I have used:


Eye shadow colors- white, purple, dark brown/dark purple.
Mascara
Eye shadow brush
Foundation
Blush
Lip balm
Lip gloss/ Lipstick
Face powder


Step 1


Apply concealer if needed on dark circles and dark spots. Cover your face, neck and ears evenly with the right shade of foundation. Use a slight tint of blush on cheeks in an upward direction. Use face powder to seal your base.


Step 2
 For your eyes:


1. Apply white eyeshadow with a brush on your eyelids. Also, with the help of the eye shadow brush apply below your lower eyelid. 


2. Use purple eye shadow from the middle of the eyelid till the end. Merge thje two color in between.


3. Take the dark shade of brown or purple and apply at the end of the eyelid. Start from the edge and merge with the purple. Do not spread the color below your eyebrows.


Step 3


Use a mascara on both the lashes. You can apply liner if you have small eyes. Conclude with a natural tint of lipcolor or lip gloss.


Keep the make-up as light as possible. Do not overdo it. 


P.S. Beauty is within YOU! :) 

Sunday, March 18, 2012

PINK!!!! :P

Hello readers!!!


I HATE PINK!!! But i cant hate any colors when it comes to make-up and beauty. Ironically, my blog page is in pink. :P  Also, my mom suggested that I should use pink to make it not look too bright for people like me. :P So, this is what came to my mind-


You need:


1. Eye shadows- light pink, bright pink, brown, gold.
2. Pink eye pencil.
3. Mascara.
4. Make up sponge.
5. Loose face powder.
6. Eyebrow pencil and brush.
7. Eye shadow brush.


Step 1


Apply light pink eye shadow on the eyelids. 


Step 2


Add gold eye shadow below your eyebrows. 


Step 3


Apply bright pink eye shadow from the middle of the eye lid to the end merging it in the middle with the light pink shade. 


Step 4


Add brown at the end of the eyes and above the crease. Smudge the edges of the brown from outside with a little amount of loose powder on make up sponge. Blend the brown with pink. Apply gold eye shadow at the tip of your eyes extending it a little above and below the tip.


Step 5


With pink eye pencil underline your lower lash.  Start from where the lash begins. Apply lots of mascara. Define your eyebrows with eyebrow pencil and brush it off to make the color even. Do not use eyebrow pencil if you have dark well defined eyebrows. And the look is ready!! :)


I hope you like the look. DO let me know what you feel!! :D


P.S. Beauty is within YOU!! :)

Black, brown and Gold!!!

Hello readers!!


Get ready for any occasion with this eye-make up look! This look will suit any dress and any event. Take a look-


You need:


1. Eyeshadow colors- black, dark brown, light brown, gold.
2. Eye shadow brush.
3. Mascara.
4. Kaajal.
5. Smudger.
6. Eyebrow pencil.
7. Eyebrow brush.
8. Make up sponge.
9. Loose face powder.


Step 1


Apply light brown eyeshadow with a brush on your eyelids.


Step 2


Apply dark brown from the middle of the eyelid till the end. Merge the two colors where the dark brown shade begins.


Step 3


Apply black eyeshadow at the end of the eyelid. Also apply on the border of the crease above, starting from the middle to the end. 
Spread the black shade upto the end till the meeting point of eyeshadow and eyebrow. Blend the black with the brown inside. 
Use a sponge with little loose powder to smudge the edges of the black shade from the outside.


Step 4


Apply gold eyeshadow at the inner tip of the eyelid. extend it a little above and below the tip. Merge it with brown.


Step 5


Apply kaajal inside the lower eyelid. 
Apply black eyeshadow below and from the start of the lower eye lashes. Extend it till the end of the eyelid. Smudge it outwards with a smudger. 
Apply thick mascara on both the lashes. 
Apply eyebrow prencil and brush it evenly on your eyebrows. This is required only if you have sparse eyebrows. And you are ready to flaunt your eyes!!


Do let me know what you think about this look... Also queries, suggestions, comments and complaints accepted! 


P.S. Beauty is within YOU! :)

Saturday, March 10, 2012

The smoky eye look! ;)

Hello Readers!!!


This time I am going to show you how to get the basic smoky eye look!! Its easy and quick. 


All you need is:


Black eye shadow.
                                   I have used here VOV glitter black eye shadow.


Contour eye shadow brush.
This eye shadow brush is perfect to line borders and small complicated designs. Its edge is slightly diagonal.


Mascara.
Kaajal.
Smudger.
                                    Its the avon Kaajal with smudger at the other end.


Use the following steps to get the look!!


Step 1
Firstly, apply foundation evenly on face. On the base of foundation use blush on your cheeks- pink, orange, brown or maroon as you wish! The strokes should be upwards towards the cheekbones.


Step 2
Use a contour brush with eye shadow to mark the border of your look. 
Your border should be on your crease line as shown in the picture above. Do not extend your eye shadow beyond your eyebrow and eyelash meeting point. 
Tip: Before applying eye shadow lather your under eye with loose face powder. After using the eye shadow brush off the powder as the eye shadow falls on your face while applying and may ruin the make-up. 


Step 3
Fill up the inside and make it dark or light according to your choice. Specifically use darker black if its a night occasion and vice verse. 


Step 4
Now apply kaajal inside the lower eyelid. 
Use the contour brush and apply eye shadow underneath the lower lashes upto the end. 
Join the eye shadow at the inner side but don't bring it too ahead. 
Now use the smudger and give outward diagonal strokes at the end of the lower lashes starting from the inside to outside. 
Smudge the same way at the edge of the eye shadow from underneath.


Step 5
Apply mascara on the upper as well as lower lashes. And Voila!! Your eyes are set to capture everyone's attention. ;)


Step 6
Use vamp red/plum for lips or just go bare nude. You are ready to rock the world!! ;) :* 


P.S. Beauty is within YOU! :)